Terraforming for Fun and Profit
How to use freely available images to make the planet of your dreams
by Sean Hyde-Moyer

A while back, I was called upon to terraform the planet Mars. Having a couple of free hours, I decided to take up the challenge, and turn the red planet blue.

I needed some striking space imagery for pitch material for a proposed space-based MMPO. I've spent a fair bit of time tromping around the NASA and USGS (US Geological Survey) websites, glorying at the bounty that our tax dollars make available on the net (see list of links at the end of the tutorial).

The Raw Materials


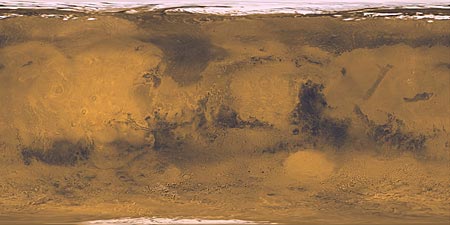
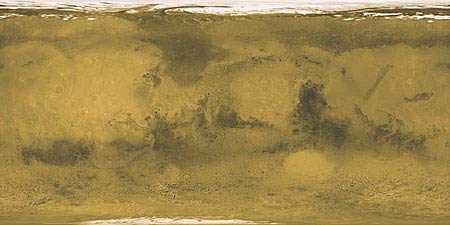
A cylindrical projection of the Mars surface, taken by one of the planetary surveys done by NASA.

It may seem trivial to be able sit down at your computer and pull up an image like this, but think for a moment at the work it has taken to send these probes, about the size of a Volkswagen Bug, hurtling into space, bouncing through the gravity wells of planet after planet, taking these images and beaming them back to us here on Earth, sometimes taking a decade or more to accomplish the mission. Truly one of the most awe inspiring of human accomplishments.

I've scaled down all the images I've used in the terraforming project, because I'm paying for bandwidth. The government has great big servers, so go pound on them if you want the full size images...};^)

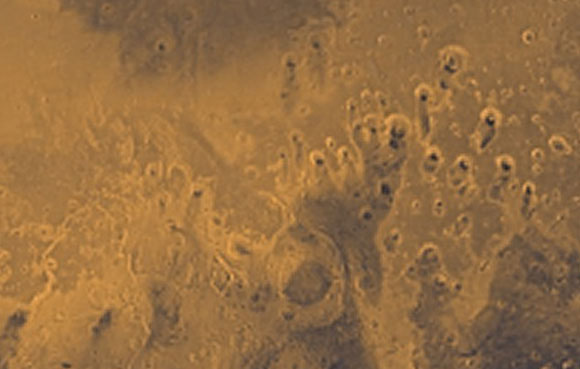
The image on the right is a sample of the detail you get on these maps. Depending on the use you have in mind, you may need to go through the map with the Photoshop Clone Tool or similar, depending on what software you use, and clean up some glitches and mosaic lines if you think they will show up in your final images. This image was clean enough for my use.

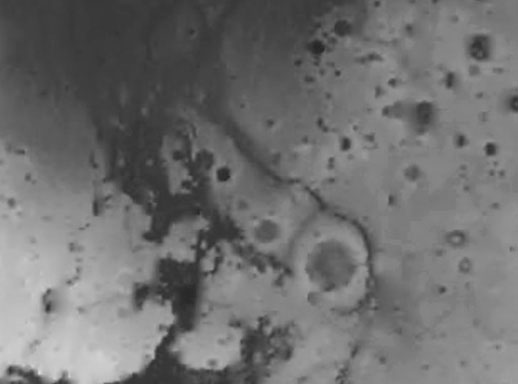
Next on the list was a topographic map (in the same cylindrical projection) of Mars. There are topo maps of Earth, Mars and Venus on the net. There may be a few others, mostly moons. The topographic maps for gas giants are none too interesting.

One of the things that jumps out at you looking at the Mars topo is that at some point in the past, Mars got the crap kicked out of it. In topo maps, white is high, and black is low. The big black spot is where something big hit the planet. But the upper dark band is worse, something enormous hit and pretty much

melted half the planet. That's why there is not much detail, craters, mountains, etc., on that side of Mars. In addition, the other hemisphere was pushed up dramatically. It's almost like there's a cliff that circles Mars, delineated by the white/black hemispheres.

Another point of interest is the white spot in the upper left quadrant. This is Olympus Mons, the tallest mountain in the solar system, and a volcano to boot! The mountain is about the size of the state of Arizona, and is about 16 miles (25 Km) high.

Almost all the raw materials have been gathered. All that remains is finding some cloud cover. Novice terraformers might be tempted to use a fractal pattern for

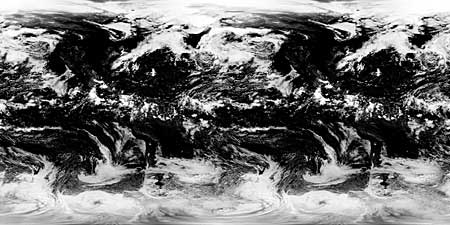
cloud cover, but trust me, don't. Another benefit of the space program; people know what clouds look like from space. There are some good Earth cloud plates floating around on the net, and NOAA (National Oceanic and Atmospheric Administration) takes pictures of Earth's cloud cover 24/7. Dig around their server for useful images, or make your own. The plate on the left is a nice mosaic, though it could be trouble in an animation, since a quick glance detects that it is a hemisphere's worth of cloud cover cloned (and indeed, many smaller internal features are also cloned. Framed correctly, it is perfect for stills and limited animation.

Sprucing up the Base Image

Subtle is the name of the game. Mars is pretty monochromatic, which you kind of come to expect from dead worlds. The first order of business is to get a little color into the old ball. I started by tinting a copy of the base image slightly green. This now what my bottom-most layer in Photoshop looks like:

Then, on a copy of the original image is pasted in the layer above. I choose some areas where I want the green to poke through, and erase them with a soft-edged airbrush. Due to the subtle coloration change, I could afford to be sloppy:

In retrospect, I didn't have to worry too much about greening the northern hemisphere, for reasons that will soon be apparent. Merge these layers together, and they look something like this:

Adding Oceans

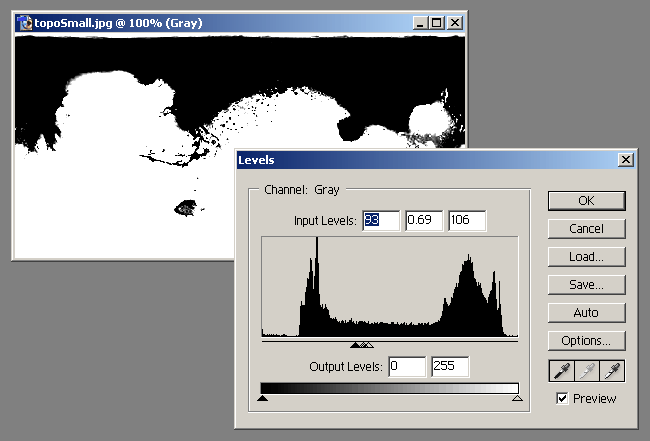
A simple Photoshop trick gives us the boundaries for our wet Mars. Take a copy of the topographic image, and crush the levels are shown below. Choosing just where to crush them will determine the ocean's edge, but on Mars, the boundary is pretty sharply delineated. The resulting image will be an alpha mask, for cutting up our next image.
Start with another copy of the topo map, and use the Hue/Saturation controls, with "Colorize" checked, to make that map a rich, ocean blue:
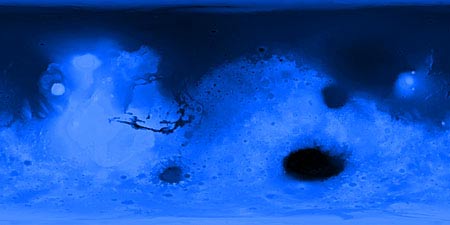
Be aware that the dark hemisphere will be the ocean, so we're not concerned what the southern hemisphere looks like. Add a layer mask to this image, and paste our alpha mask into it:
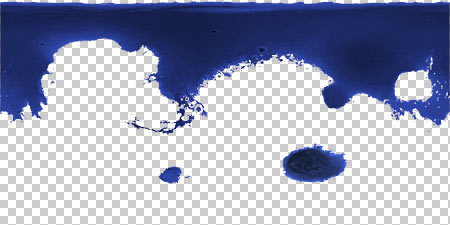
Because there is not much surface detail on the melted hemisphere, it makes a great ocean, just enough variation to make it believable. Now we paste this on top of our base plate:
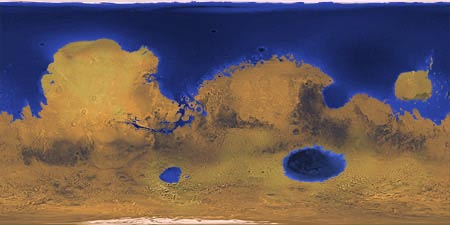
Yes! A pretty little planet with a great northern ocean, a good size inland sea, and a great lake thrown in for free! From here, there are a number of tutorials on the net for making 3D globes from cylindrical maps. Here's a quickie, composted over the requisite gaudy Hubble Space Telescope shot:
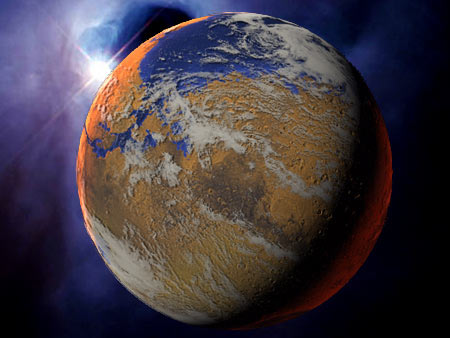
You can also see the pitch posters developed with this image from the Saddlefish Gallery:


Links for Planetary Maps

Your One-Stop Shop
maps.jpl.nasa.gov

Map a Planet
pdsmaps.wr.usgs.gov/maps.html

Cylindrical Maps of the Planets, Exhaustive Archive
www.johnstonsarchive.net/spaceart/planetcylmaps.html

And More
gw.marketingden.com/planets/planets.html

Hubble Space Telescope
oposite.stsci.edu/pubinfo/Pictures.html

Astronomy Picture of the Day
antwrp.gsfc.nasa.gov/apod/astropix.html